The Camo-Pen: Review and Test
What is Camo-Pen?
Camo-Pen is an idea and design made by Chris and Grzegorz, these guys are the brains behind the clever idea!
The Camo-Pen is basically (albeit cleverly) a sponge tipped Acrylic Paint Pen, the idea being it’s easy, quick and offers great versatility when it comes to painting your gear.
Heading over to https://www.camo-pen.com/ you can see some of the awesome patterns that people have been able to make using these pens.
Some of the key features of the Camo-Pen are:
CLEAN: CAMO-PEN’s unique design means you won’t make a mess and have paint spilling all over. Also you can paint your gun anywhere without worrying about fumes from spray paint or putting down big drop clothes!
EASY: There is no paint brush to deal with, no cans, no hassle! Just pick up your CAMO-PEN and go! Once you are done, just pop the cap back on and save the rest of your paint for later. With our custom designed stencils you can make great patterns in minutes!
LOW COST: You can pick up a CAMO-PEN set or even one color for a fraction of the cost of spray paints or custom shop paint jobs. Also you are not wasting half the paint on your project like you do with spray paints!
TEXTURE: CAMO-PEN’s unique design allows you to sponge texture the paint job. This results in a unparalleled grip surface on your gear as well as less light reflection due to the shadowing effect of the texture! Who doesn’t want to have a better grip on their gun, radio or any gear you have?
WATER RESISTANCE: CAMO-PEN paint is waterproof once cured. After the paint has dried for about 24-36 hours the paint can be completely immersed in water with no adverse effect. It is NOT recommended to use this paint on items that will be in contact with water 100% of the time. Getting wet and then drying off will be no problem but prolonged water contact can cause the paint to start to breakdown.
SCRATCH RESISTANT: CAMO-PEN paint is scratch resistant when fully cured(24-36 hours). This means that when the paint has been applied properly to a clean and prepped surface and allowed the proper cure time, the paint should not easily scratch off. In most cases the paint will “scuff” but not “scratch”. In the event of a scuff, simply apply a touch up to the scuffed area and it will be good as new!
Now, for the people who run their gear hard this is great news! Being able to quickly touch up scuffs is a huge bonus, not to mention the added grip the unique texture offers.
Testing:
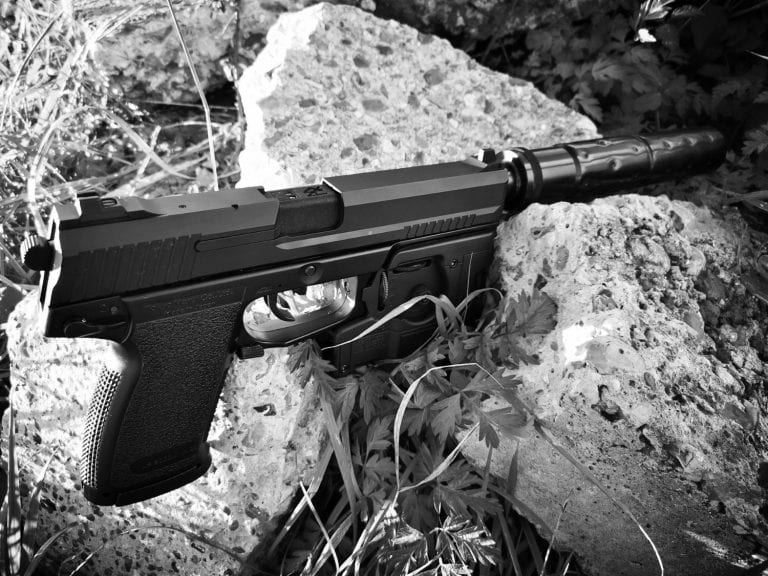
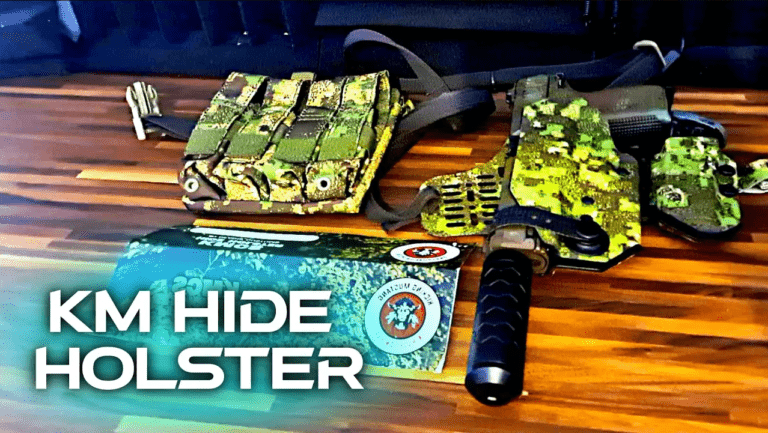
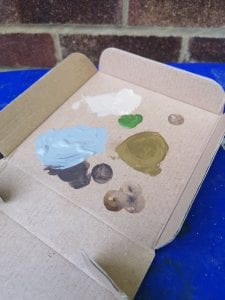
To test the Camo-Pen out, I opted to give a Pencott Greenzone inspired paint job on one of my plain Tokyo Marui MK23’s. One of the key things to note with these is that you need to use a bit of cardboard/spare material as a priming area for the pens. Out of the packet the sponge section is moist due to a chemical added to stop them drying out, so you need to dab the sponge while sqeezing the pen in order to get the paint to come through.
With that done, you can go about adding your base coat, for me I chose the green included in my pack which was “Sage”, I added a few coats with about 15 minutes or so between each one, once I had the green base coat down and touch dry, it was a case of adding in the others colours one at a time, how you do this entirely depends on your style and the type of camouflage you’re trying to replicate. In this case I started with green, then went dark brown, lighter brown, tan and then just began to overlap the colours until i was happy.

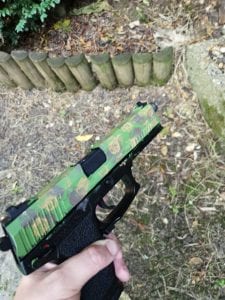
For this test, I’ve stuck to just painting the slide itself, rather than the full gun, just in case I messed it up!
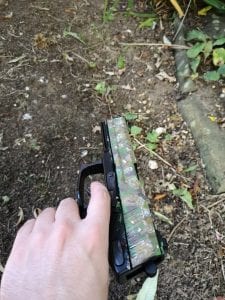
Having got all the main layers and areas done, it’s just a case of really tweaking it to how you want, adding light/dark areas, adding more of a certain colour to suit your environment/theme.
Conclusion of the Camo-Pen:
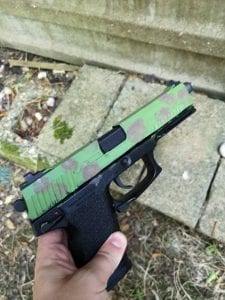
Tah Dah!!!!
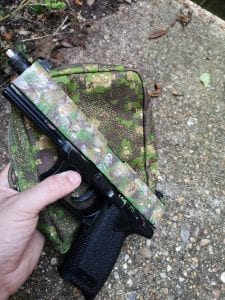
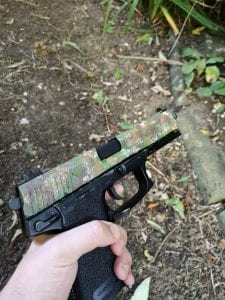
So after about 40 ish minutes (yes, it’s actually that quick to do small items) I finished the slide of the TM MK23 and I have to say…..I’m pretty happy with how it’s come out. The colours next to some Pencott Greenzone Camo are really good, considering the very little time and effort I put in, it’s a pretty nice result. The MK23 was literally painted about an hour or so before writing this, so I’ll do some updated images once the full 24-36 hour curing period has finished.
For people who don’t want the absolute perfect flat paint job, but something a bit different, a bit gritty, these Camo-Pens are something that I’d wholeheartedly recommend and are something I’ll be using myself going forward, considering how cheap they are and the little time needed to get patterns down, it’s genuinely a great little product.
The only thing that I’d personally do different, in the interest of time, would be to still spray my base layer, then use the pens for the rest. This is purely to be a bit more efficient in terms of saving time, for small items like pistols, doing the base layer with the pen is fine.
Remember guys, if you’ve enjoyed this post or any of the other content I’ve put out, please check out my other platforms and consider becoming a Patreon
Links:
Camo-Pen – https://www.empireairsoft.co.uk
If you’ve enjoyed this content or any of my other content, you can support me here.