Wolverine Bolt: Deadly Quiet
Wolverine Bolt Introduction:
Firstly, let me start by apologising for how long it’s taken me to get this post up on the Wolverine BOLT, I injured my back recently so couldn’t get started on the build, so that is why this has taken ages for me to get posting again.
After recently picking up the Mancraft SDIK and having people ask me how it comes to the Wolverine BOLT, I thought I’d give the Wolverine BOLT a go. In the interest of being honest I didn’t initially have much time for the Wolverine BOLT, I thought it’s massively overpriced and the requirement for a battery also put me off.
That being said, I do love to build and tinker it the Wolverine BOLT was completely new to me so I thought what the hell, it’ll make a good blog post either way.
Wolverine BOLT Initial Thoughts:
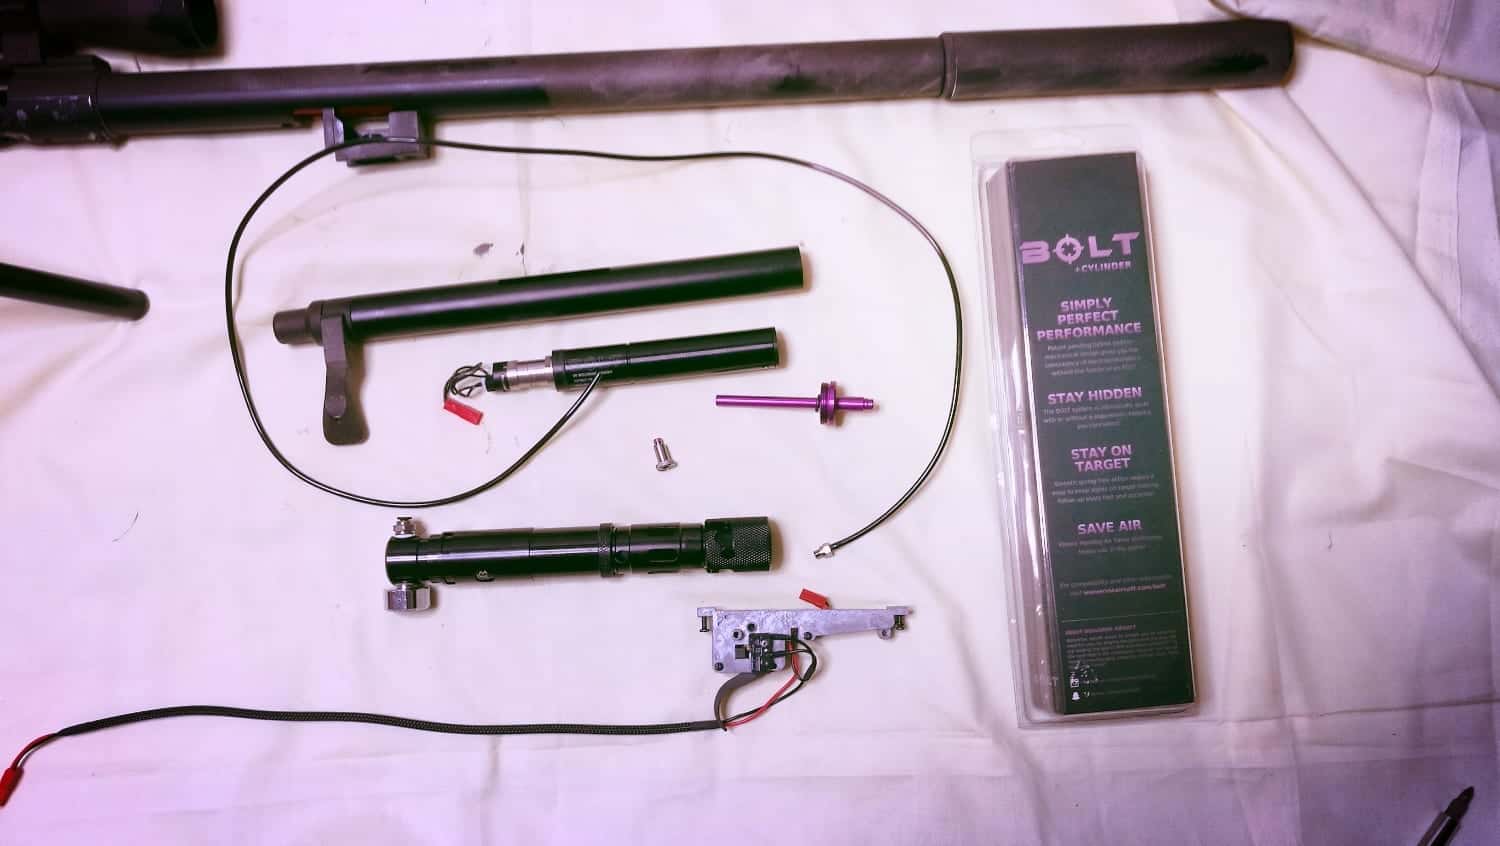
For the Wolverine BOLT I decided on getting the complete package with the cylinder and Wraith C02 adapter, as I liked the idea of everything being self-contained and the CO2 being able to be switched out quickly.
Upon opening the items I was impressed with the weight, feel and finish of the items. Everything seemed to be machined well and of a high quality.
The package included 2 patches, which are always a nice touch and a selection of spare O-rings etc, while this isn’t life changing it certainly is ice of them to include spares. It’s worth noting with the Mancraft Kit I had to purchase spares O-rings/seals separately.
Parts Used:
So for this build I used a selection of parts I had laying around, along some new items I picked up specific to this build.
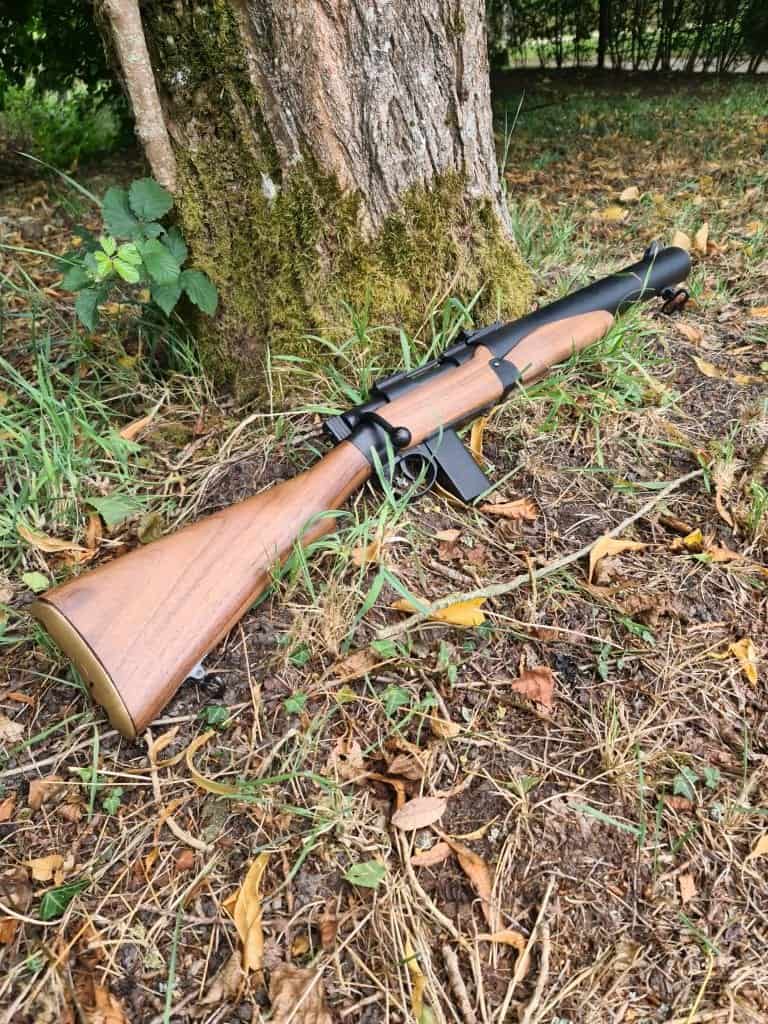
Base rifle is a TM VSR 10 Gspec (in a JG stock, this caused a minor issue I’ll discuss later)
303mm EdGi 6.01 ported bull barrel
Action Army Hop Chamber
PDI W hold bucking (may swap out for a Maple Leaf, but I had some of these to hand)
Wolverine BOLT VSR 10 kit with Cylinder
Wolverine Wraith CO2 Adapter
Wolverine BOLT Build:
Overall the build was relatively simply, albeit a lot more involved than the Mancraft SDIK due to the need to drill/dremel some parts.
As I’ve covered the disassembly of the VSR rifle many times now, I won’t go over it all again, just the specific parts needed for the BOLT
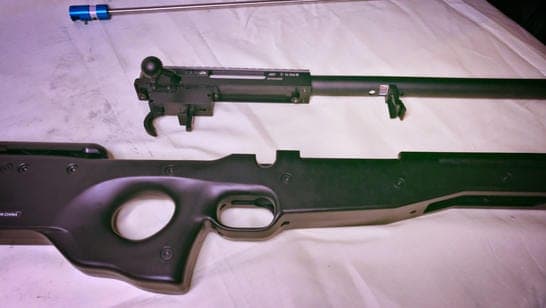
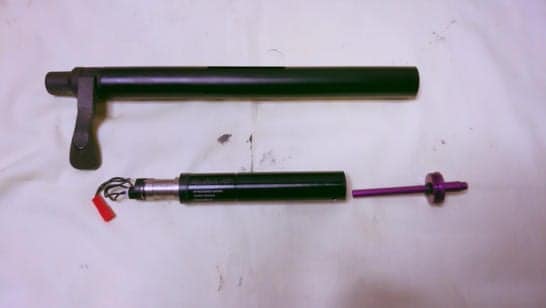
First thing is to remove the receiver from the stock and the outer barrel from the receiver.
Once you’ve done this, you’ll want to remove the trigger unit itself and slide the existing cylinder out.
We’ll make a start on the trigger which only takes a few minutes to do. You’ll want to remove all the screws below:
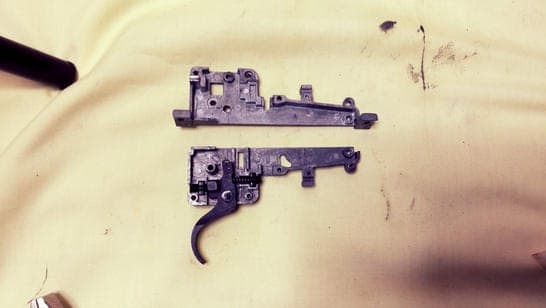
Once inside the trigger you’ll want to remove the sears so you’re just left with the trigger. From here you’ll need to work out where the BOLT trigger unit needs to be positioned in order to be activated by the trigger.
This can take some trial and error, but once you know where it needs to go you’ll need to mark the hole, then drill it out with the included drill bit and screw it in place.
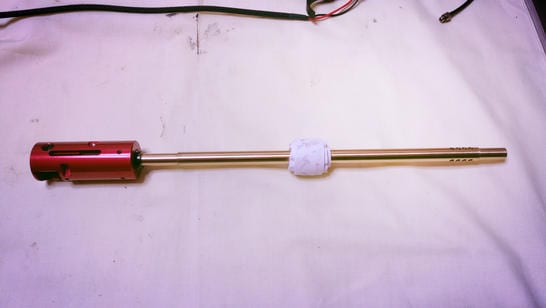
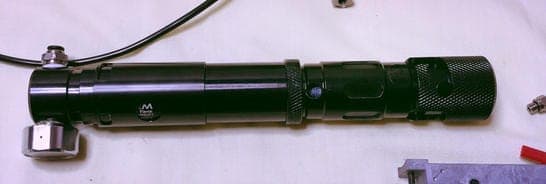
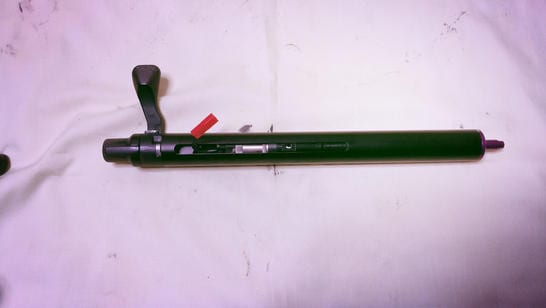
With the trigger unit assembled we can now move onto the cylinder. You’ll need to remove the bolt handle of the old cylinder and install it onto the new BOLT cylinder and install the internals. Make sure the battery wire isn’t pinched.
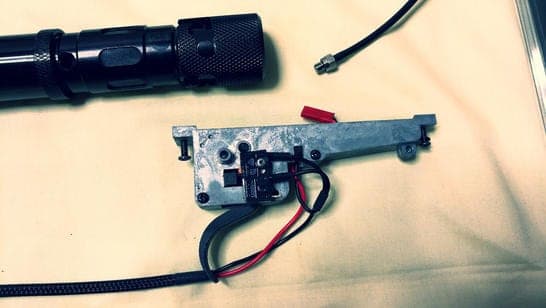
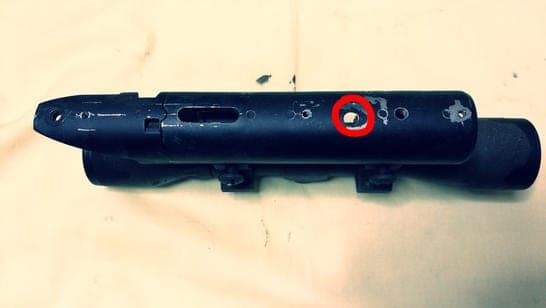
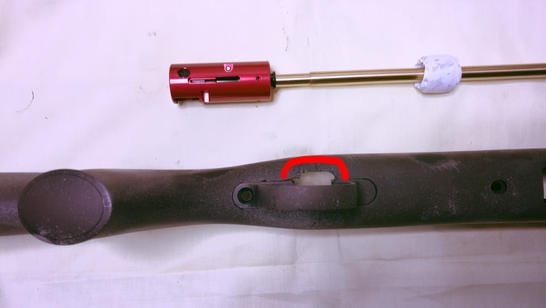
With the trigger and cylinder ready, you will now have to drill to receiver to accommodate the airline fitting (this might not be the case on all rifles). You will need to drill out a hole as shown below:
With all the leg work done now, you can install everything, the battery wire should go up through where the spring guide stopped used to be and the battery cable form the cylinder should fit inside the now hollow trigger unit.
Now you can route the air line and battery cable where you wish, into the stock is the best place. Upon installing the receiver into the upper I encounter my issue, there is not enough room between the BOLT trigger unit and the stock so I can bed the receiver.
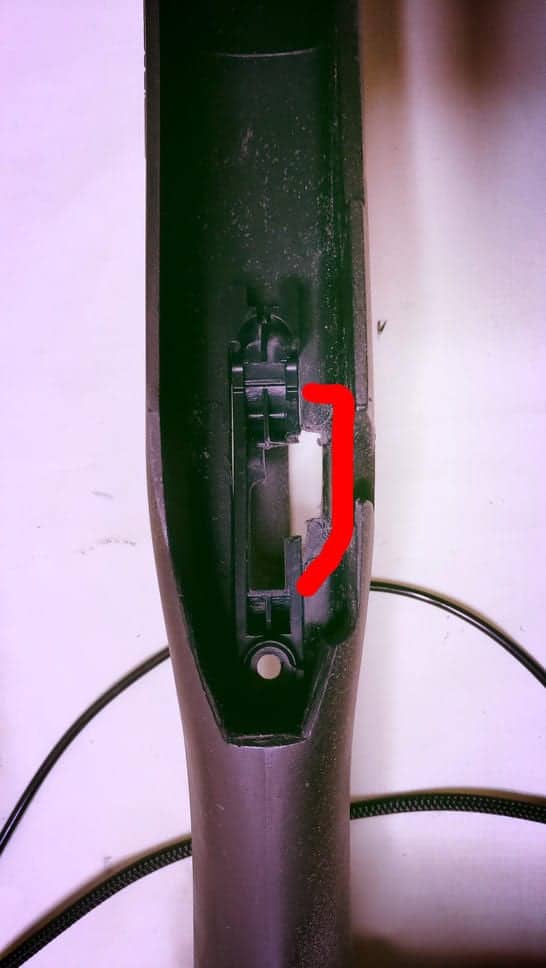
For me this just required a small bit of dremeling and it may just be because I’ve got a TM receiver on a JG stock, but it’s something worth noting.
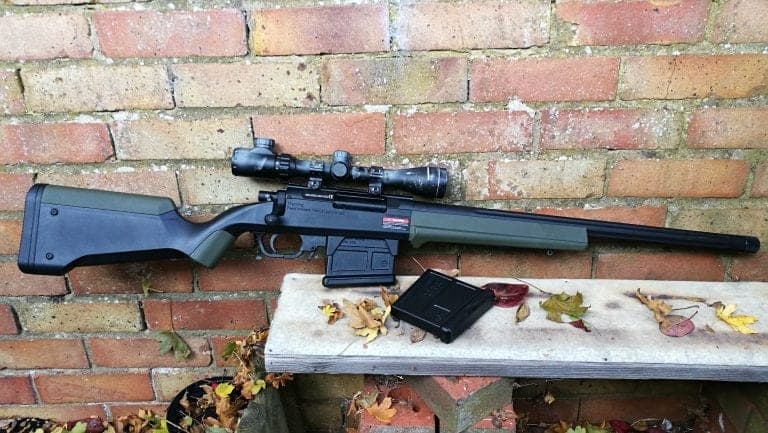
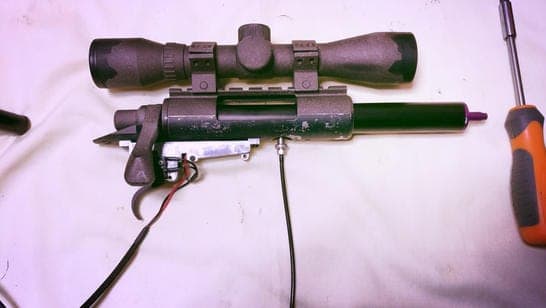
Once you have it all together you can install everything into the receiver including the Wraith CO2 adapter if you go it, my one fits in the stock perfectly.
Wolverine BOLT Performance:
Initially I was concerned over the high PSI needed to reach 500fps on .2s (UK limit). Then after quickly checking with the incredibly helpful gents over on the Wolverine page, and getting a PM from a helpful member. Realised it was due to the short ported barrel and the way the BOLT works in favour of Joule creep. On .4’s I was hitting right which I needed to be, even though I was sub 500 fps on .2s. Luckily with the recent changes in law, sites will/should be completing the Chrono on the weight plays use.
I’ll cover the actual performance in part two as I haven’t got anywhere to properly test currently. However this thing is quiet!! With the ported EdGi barrel this this is on par with a suppressed MK23 if not less.
Consistency wise, the Wolverine BOLT is simply in a word……..Impressive!
I might have something in the works in regards to testing this and the Mancraft, so watch this space.
Conclusion:
So this isn’t my “full” conclusion as I’ve yet to properly range test the rifle. However based on the few shots I managed to take and the consistency when putting the rifle through the chrono, I’m really impressed initially.
Compared to the Mancraft SDIK the install and initial set up is a bit more involved and there’s a substantial cost different between the two systems.
My only slight concern with the Wolverine BOLT that I don’t have with the Mancraft SDIK is the electrical inner workings, with the Mancraft being entirely mechanical I’m more inclined to be a bit more rough with it and less precious.
So far, I like the kit and albeit much more expensive than the Mancraft SDIK, I’m hopeful it will perform equally well, if not better.
Links:
Parts: Empire Airsoft
Remember guys, if you’ve enjoyed this post or any of the other content I’ve put out, please check out my other platforms and consider becoming a Patreon